OZÉ is a mobile app that empowers small business owners to make data-driven decisions to improve their performance. Once performance improves, we connect you to the resources that you need to accelerate your growth. Think of it as a cash ledger, but on your phone.
Below is a step-by-step guide for new OZÉ users to download and starting using the app. If you have any additional questions, feel free to contact COACH on your phone or contact us directly.
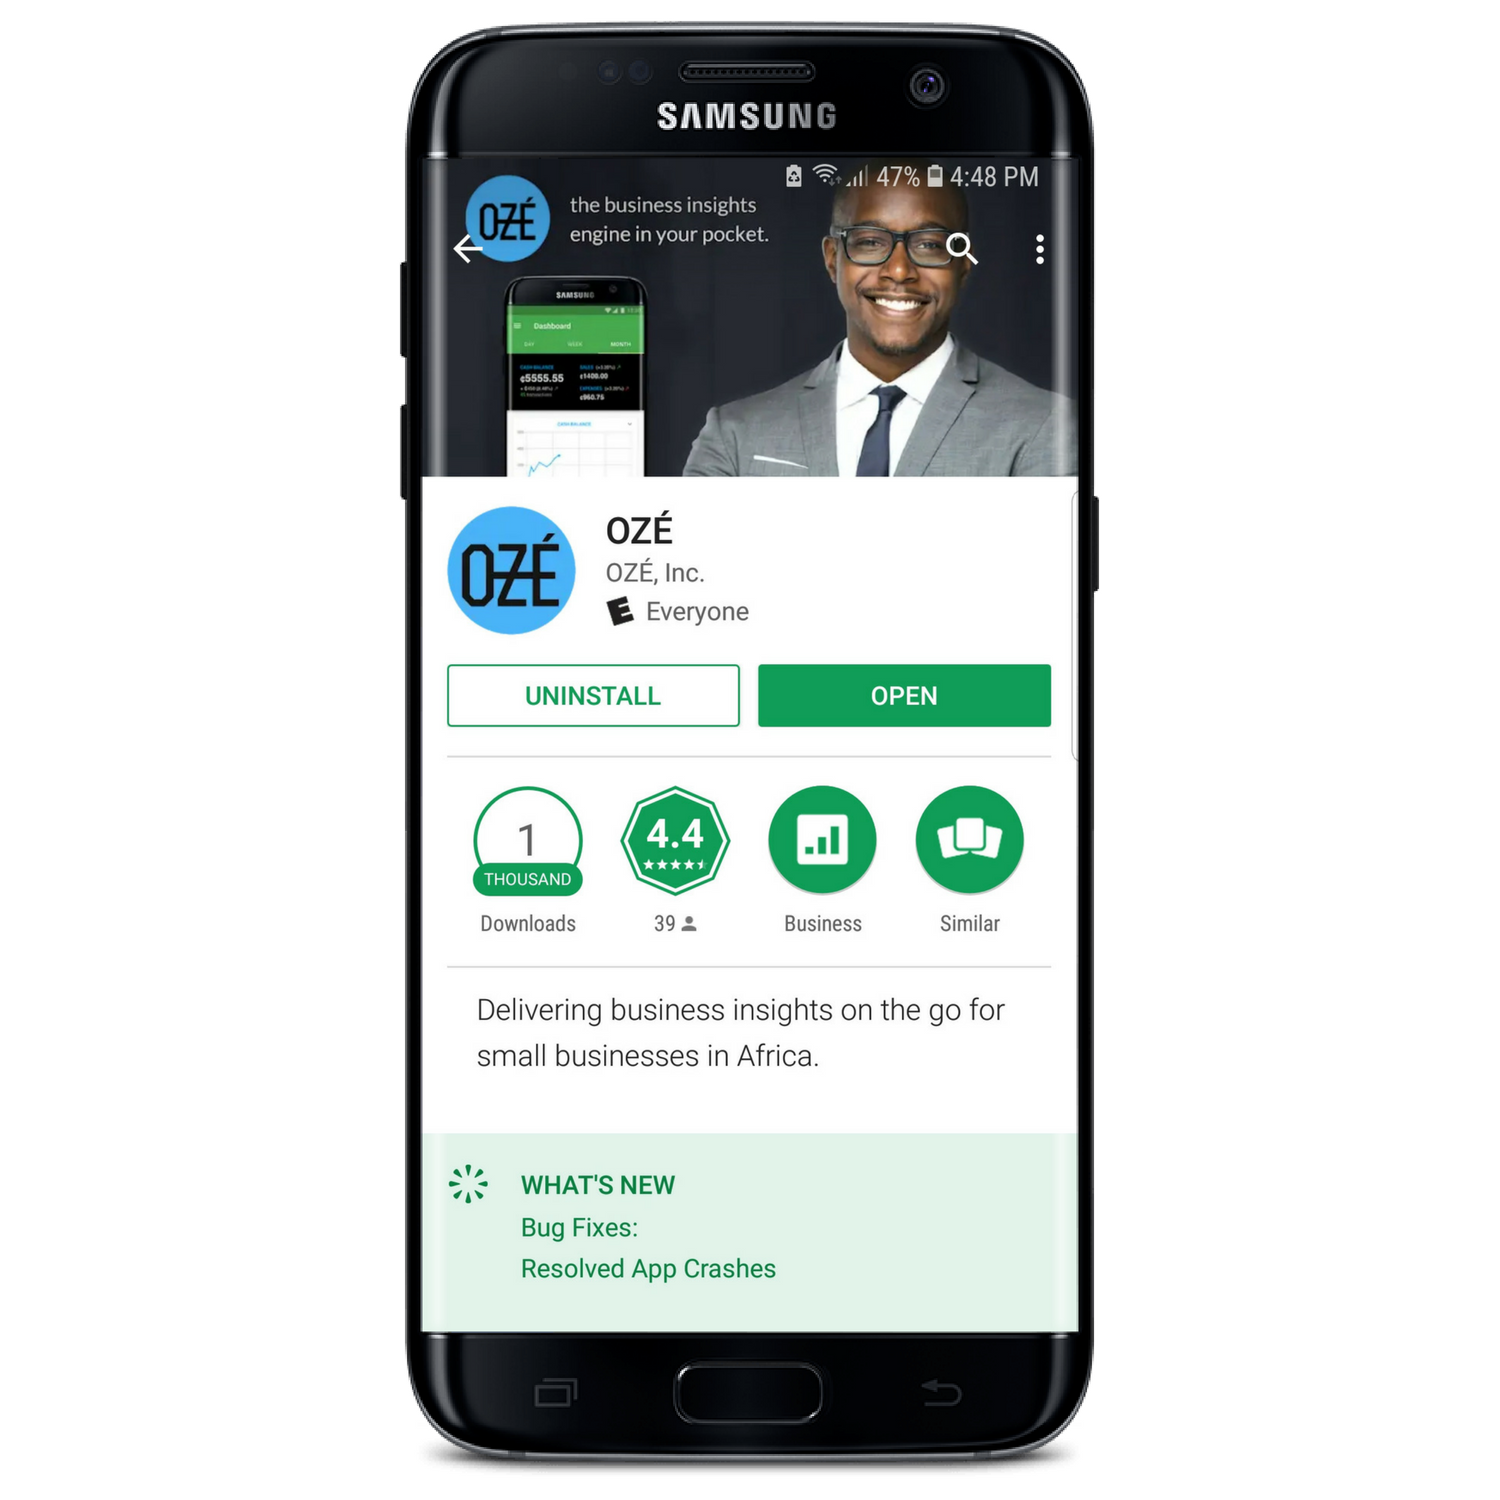
1. Download: Download OZÉ from the Google Play Store
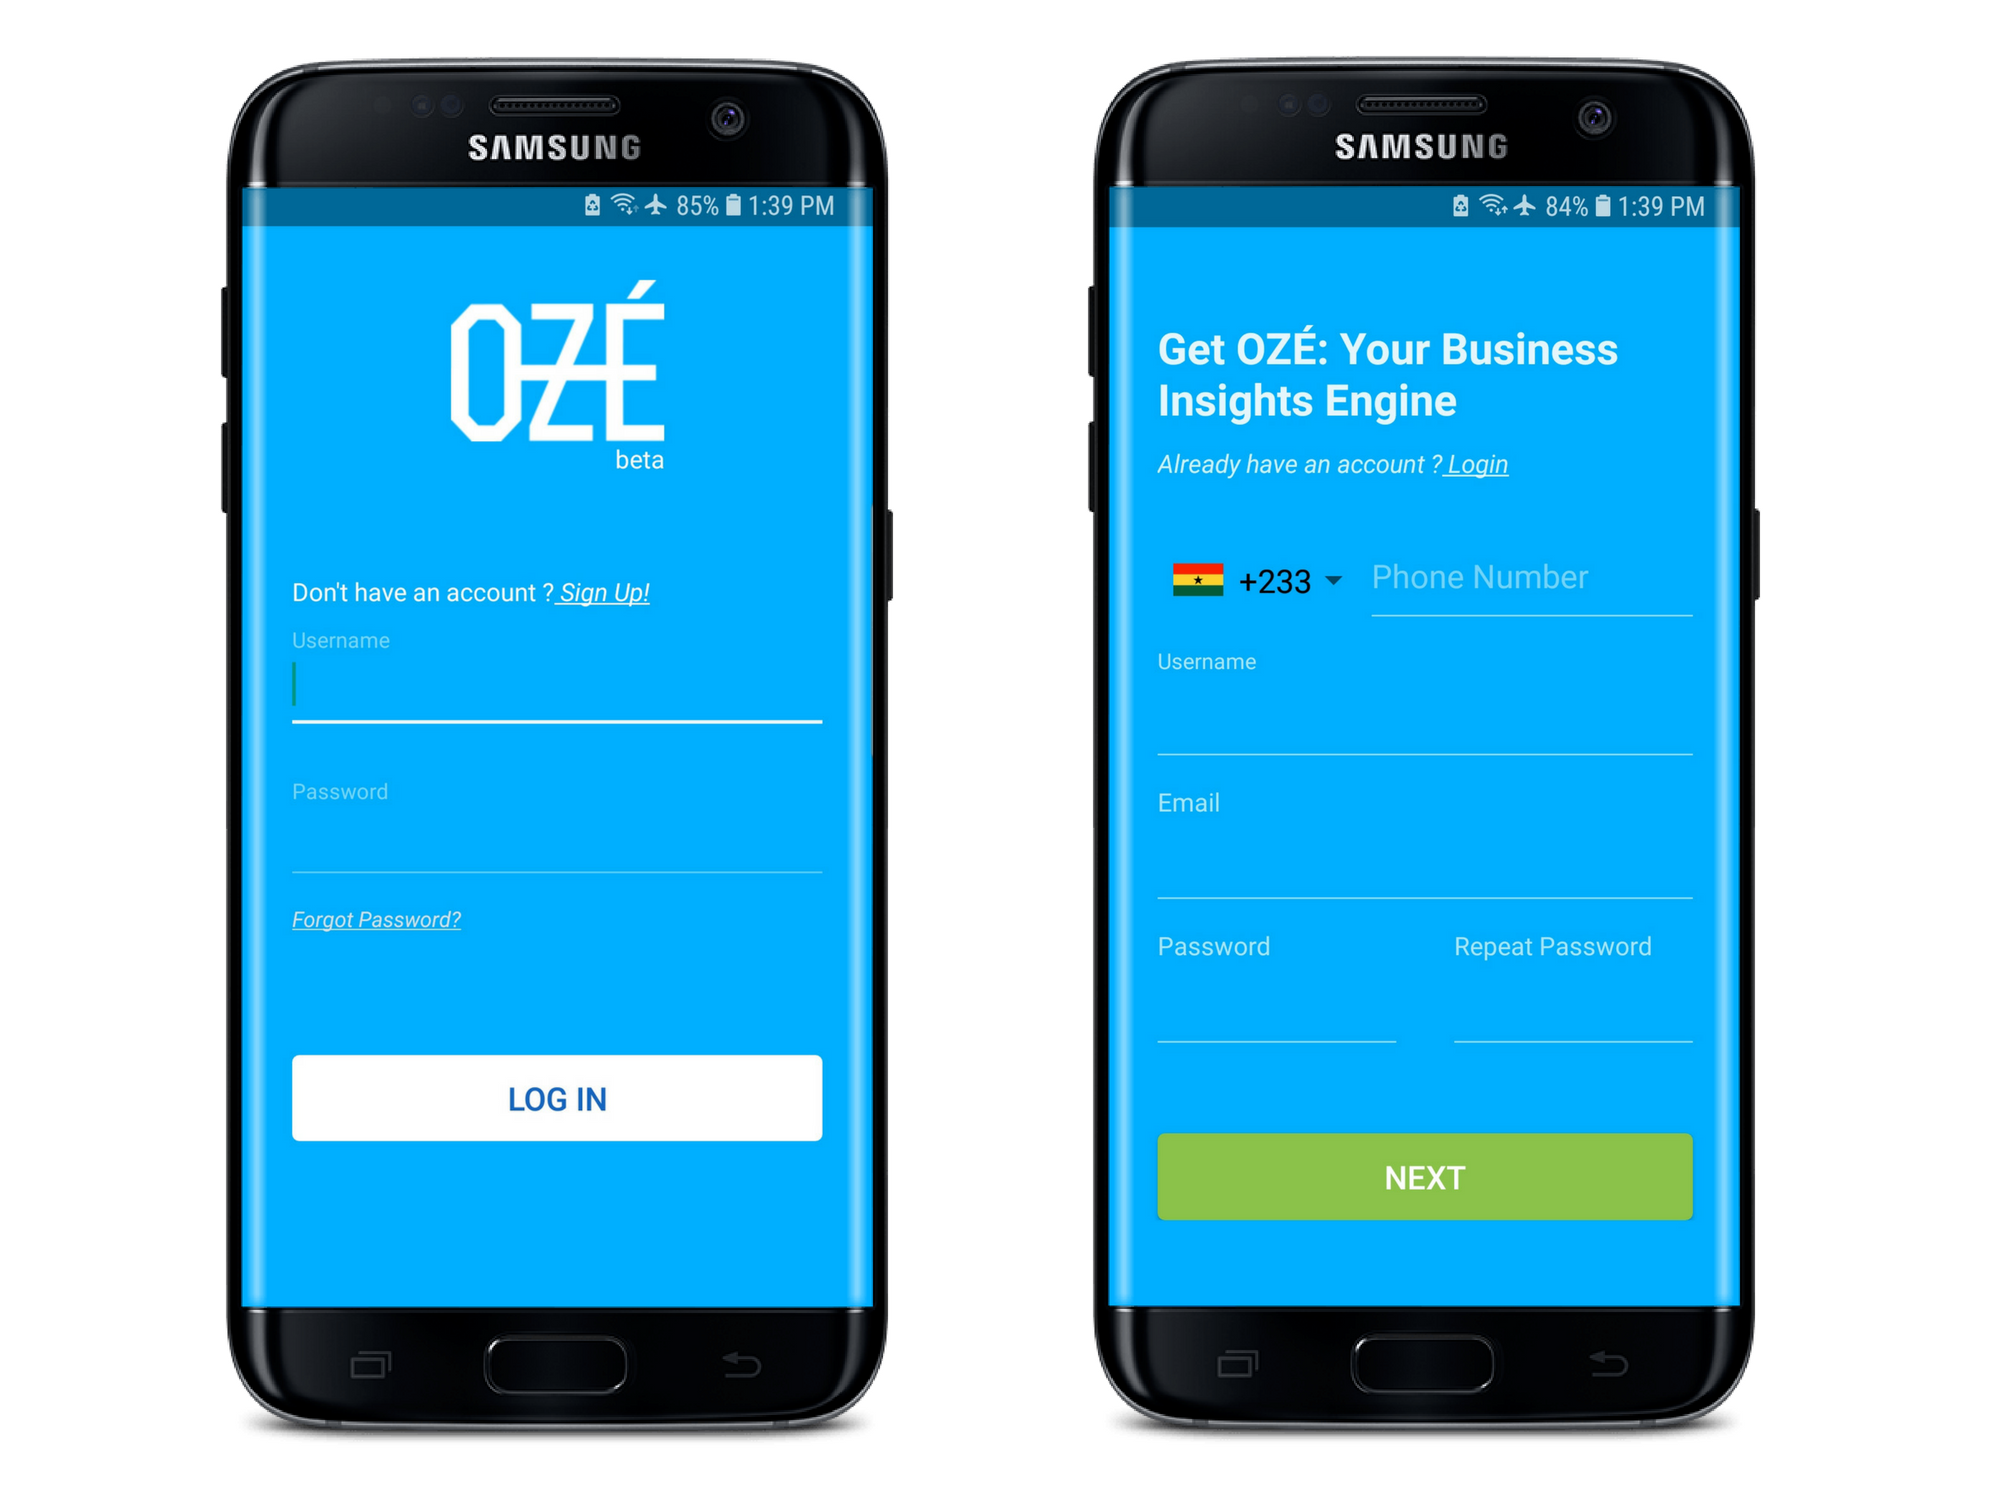
2. Sign Up: Click “Sign Up!” on the home page, and provide your phone number, username, email, and password. Note that your password should be at least 7 characters of both letters and numbers. Click “Next.”
3. Verify: You will receive a 6-digit code in your texts or email inbox. Enter the 6-digit code into the app to verify your account.
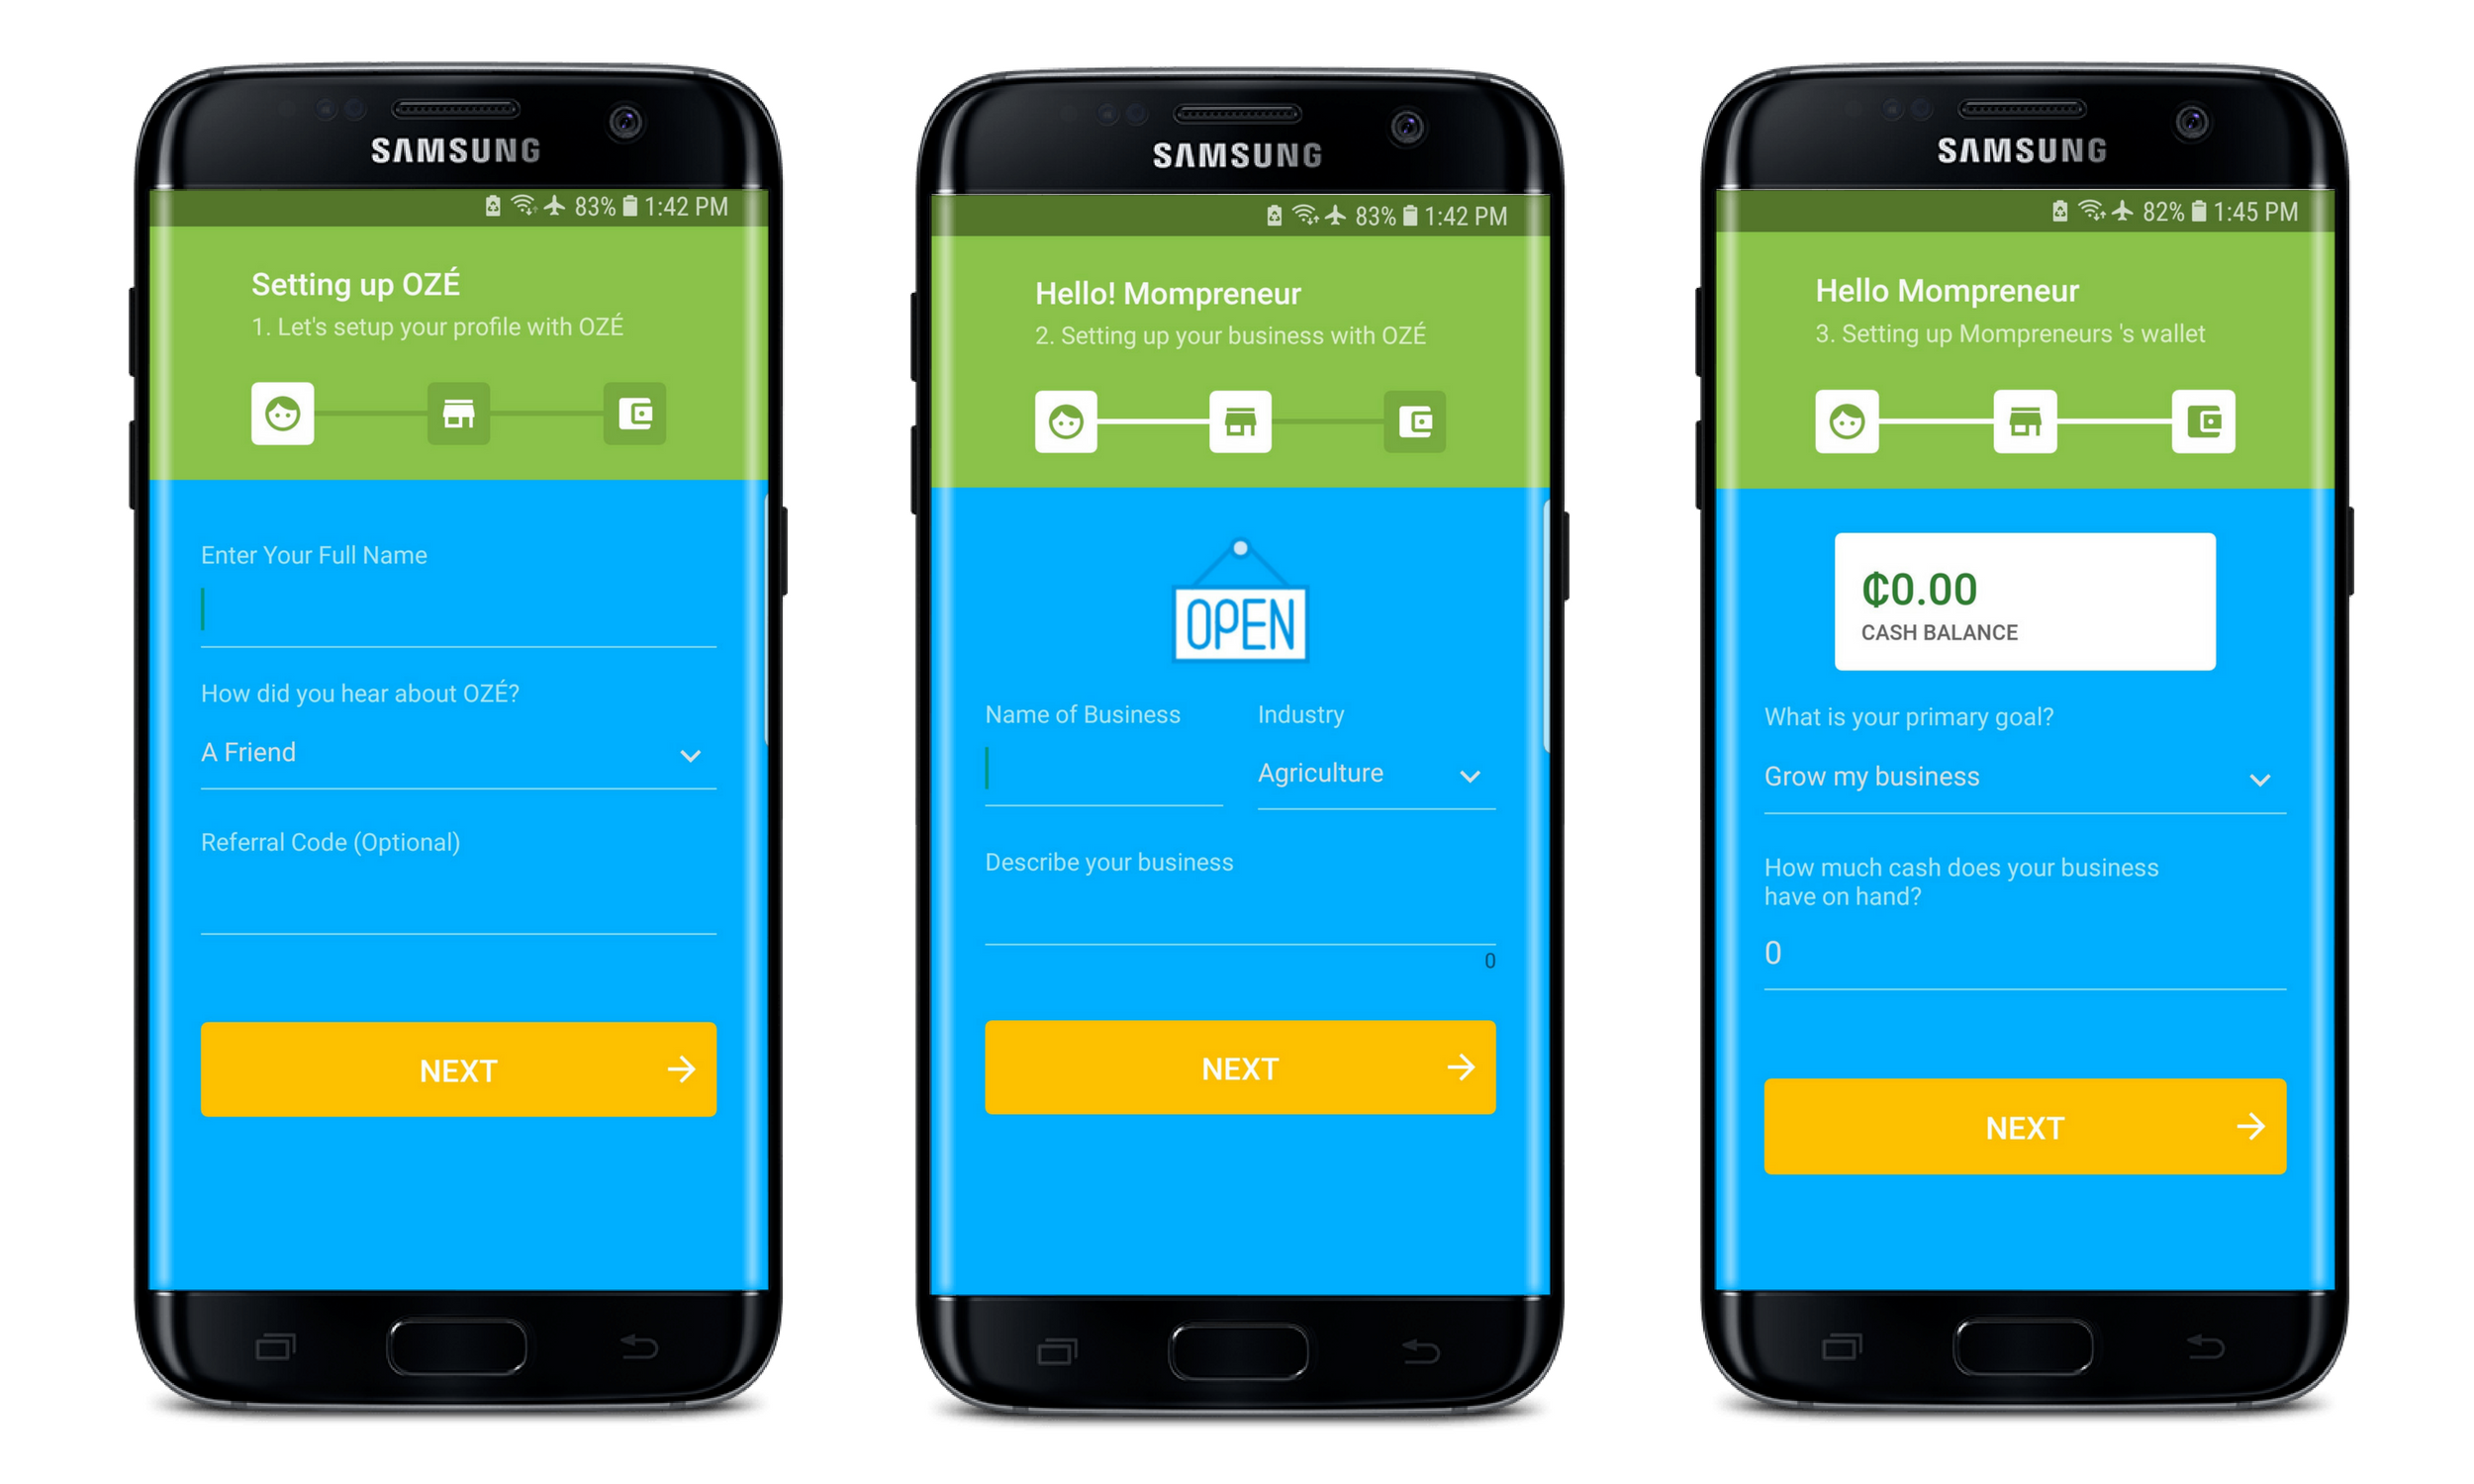
4. About You: Provide your real full name, how you heard about Oze, and a referral code if you have one.
5. About Your Business: Enter your business name, industry, and a short business description (what do you tell your friends about your business?).
6. Business Foundations: Provide the cash balance (total amount of cash your business has in an account, home, or at the business) and how you would like to focus your business.
Congratulations! You have set up your business and can now start using OZÉ’s features!
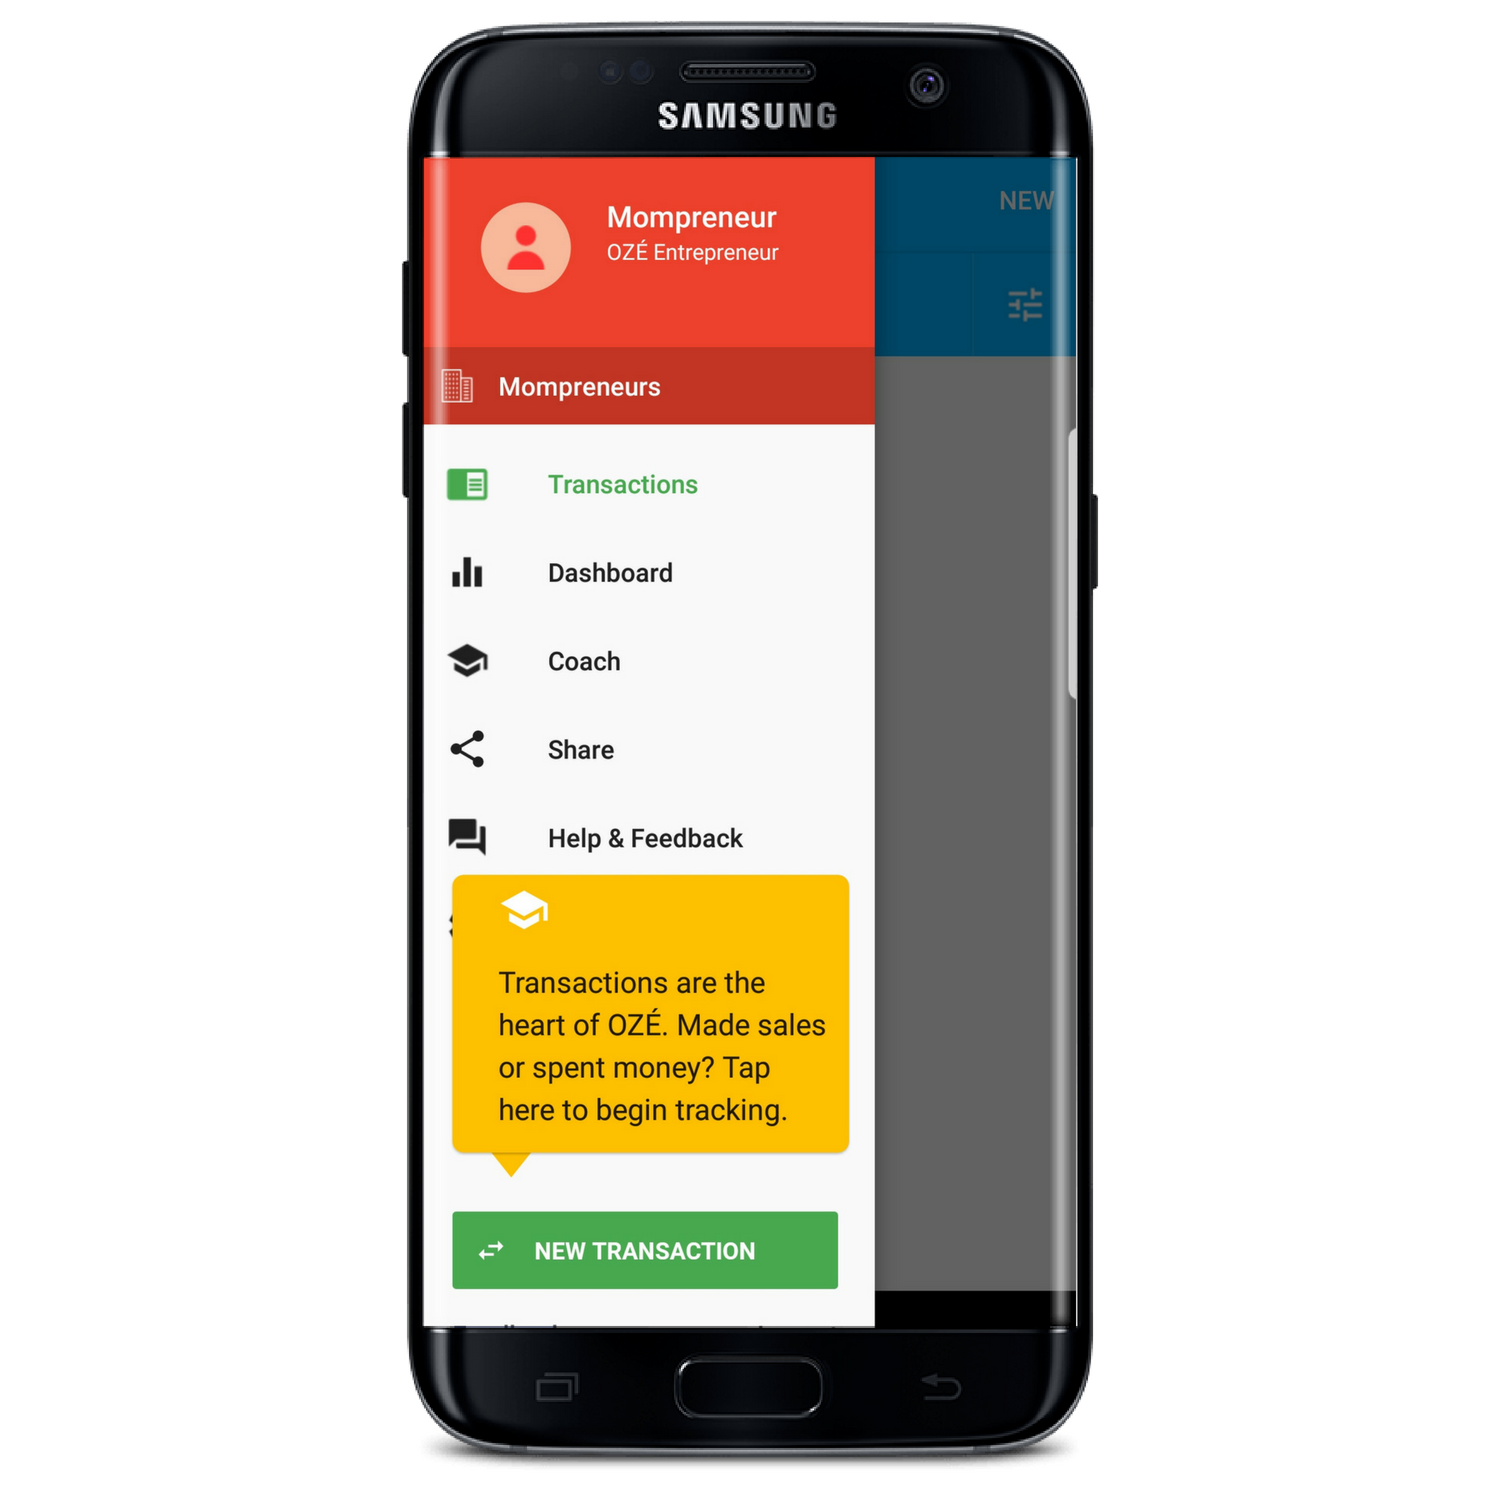
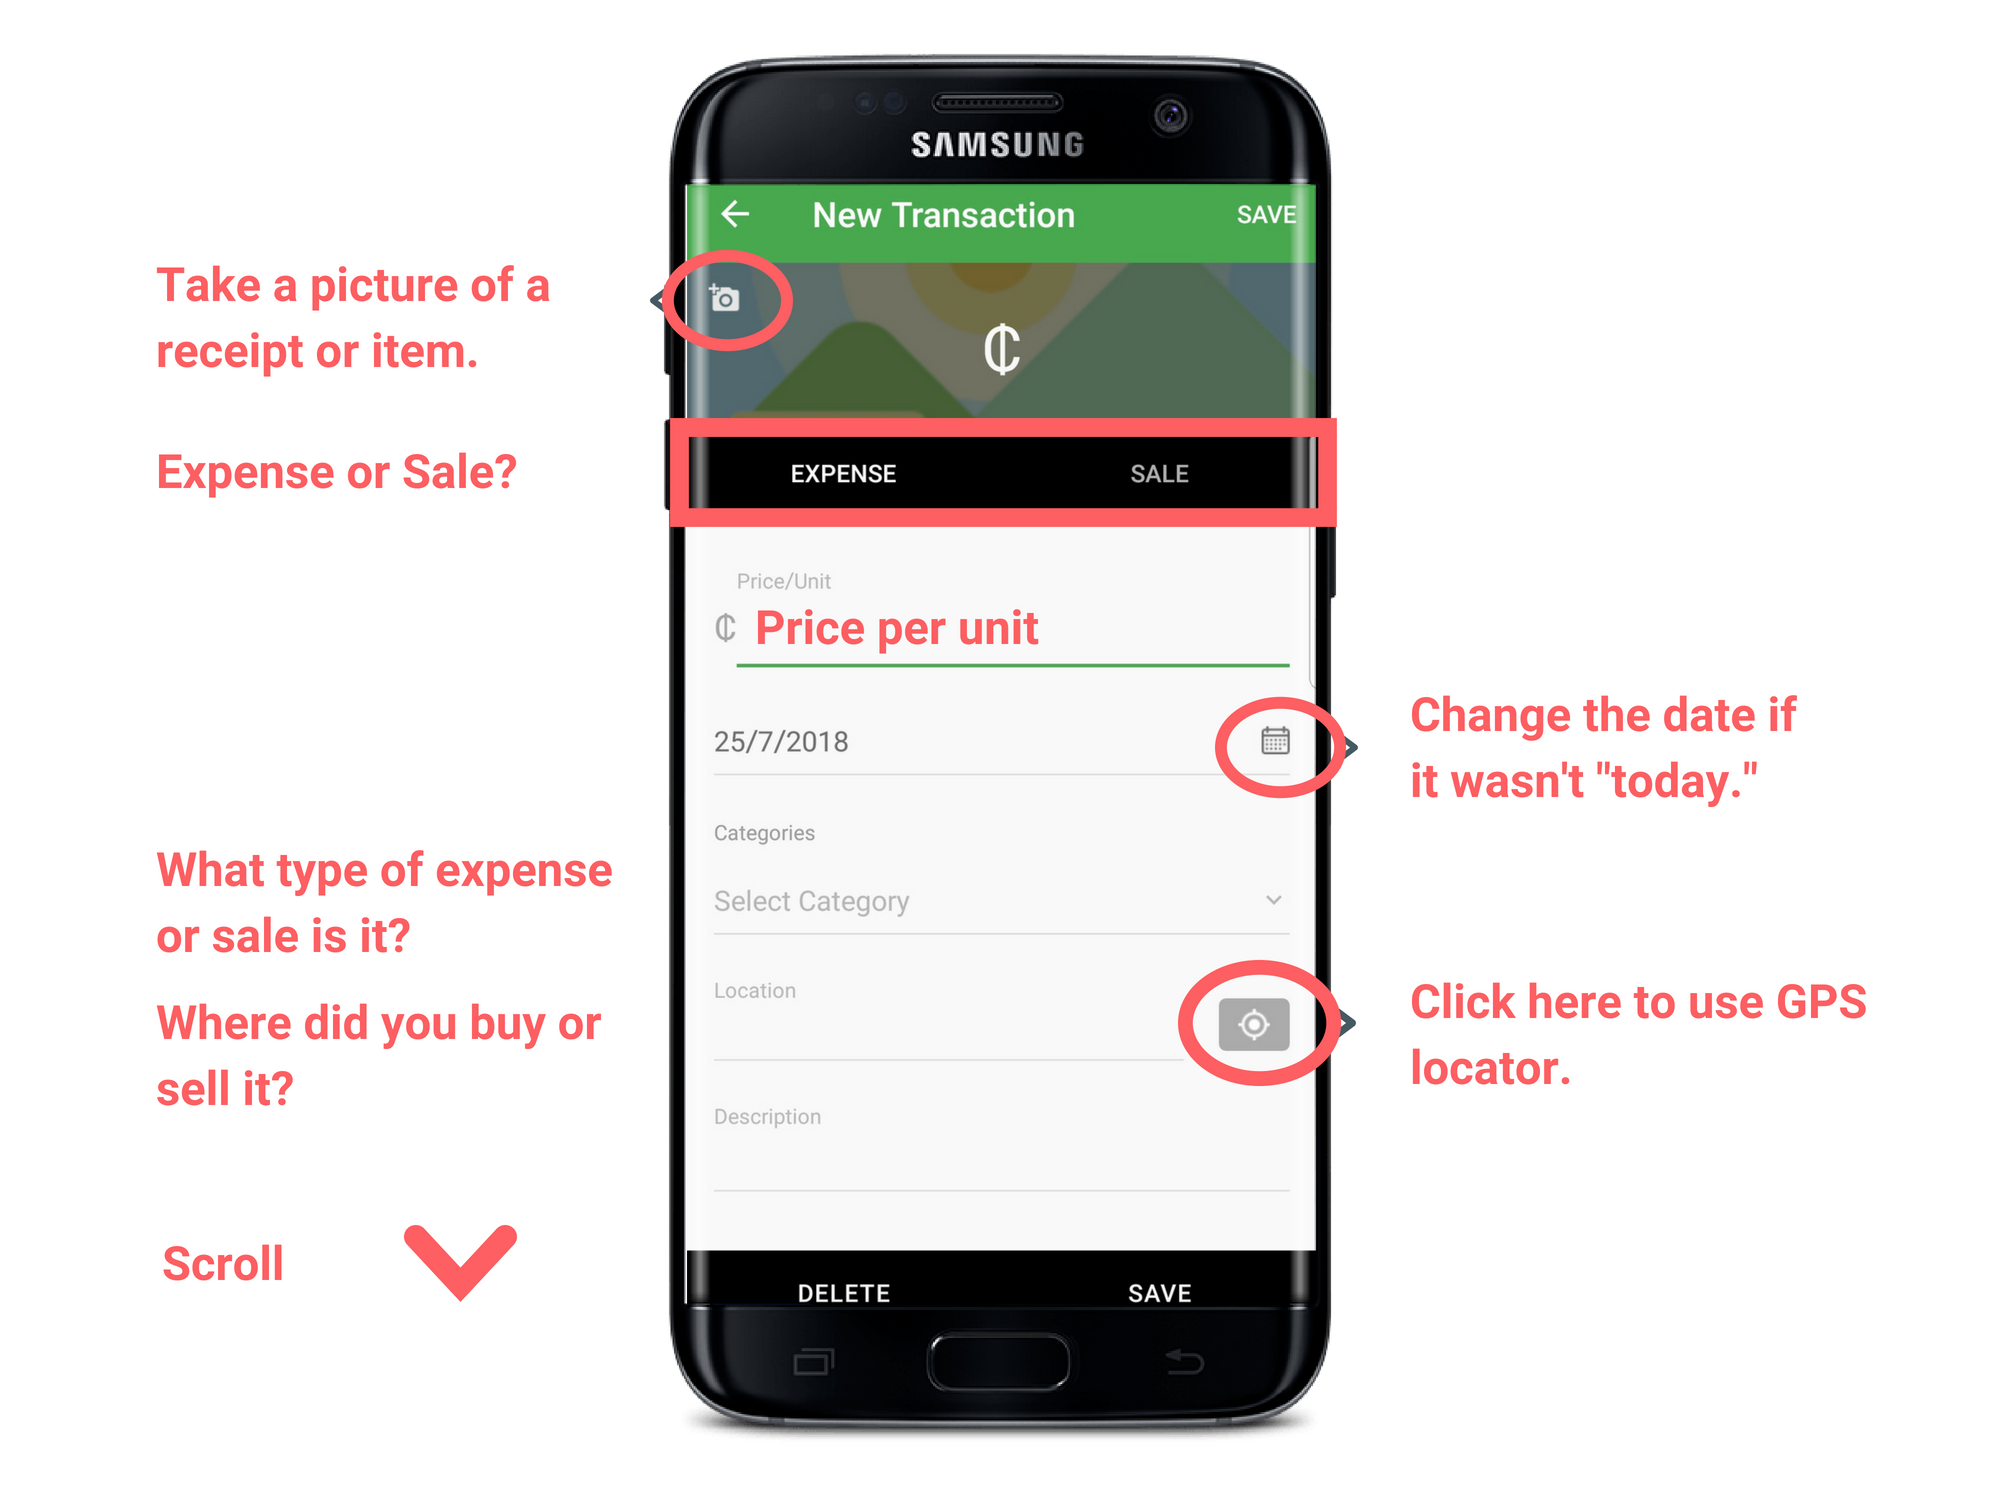
7. Transactions: Clicking the 3 dashes on the left hand side will take you to the menu bar, where you can access all of the screens. Start recording all of your sales and expenses as they occur by going to “New Transaction.”
a) Identify if the transaction is a sale or expense.
b) Input the unit price (example: if you sold 3 shirts for ¢15 each for a total of ¢45, enter in ¢15 here).
c) Change the date of the transaction if it did not occur today (optional).
d) Select the category of the sales or expense. There are some starting categories for you to use, or you can create your own. It’s best if you don’t create redundant categories (example: t-shirt vs t-shirts vs clothes).
e) Enter in the location (optional).
f) Input the number of units as part of the transaction (example: if you sold 3 shirts, put in 3 here).
g) Input any kind of discount that you took (example: if you sold 3 shirts for 20% or ¢3 discount off of $15, put in ¢3 or 20% here) (optional).
h) Input whether the transaction was paid in full. If it wasn’t paid in full, you can enter in the amount that was paid so far, the other person’s contact information, when the payment is due, and any preferred reminders. When the amount is paid in full, you can come back to this transaction and edit it (optional).
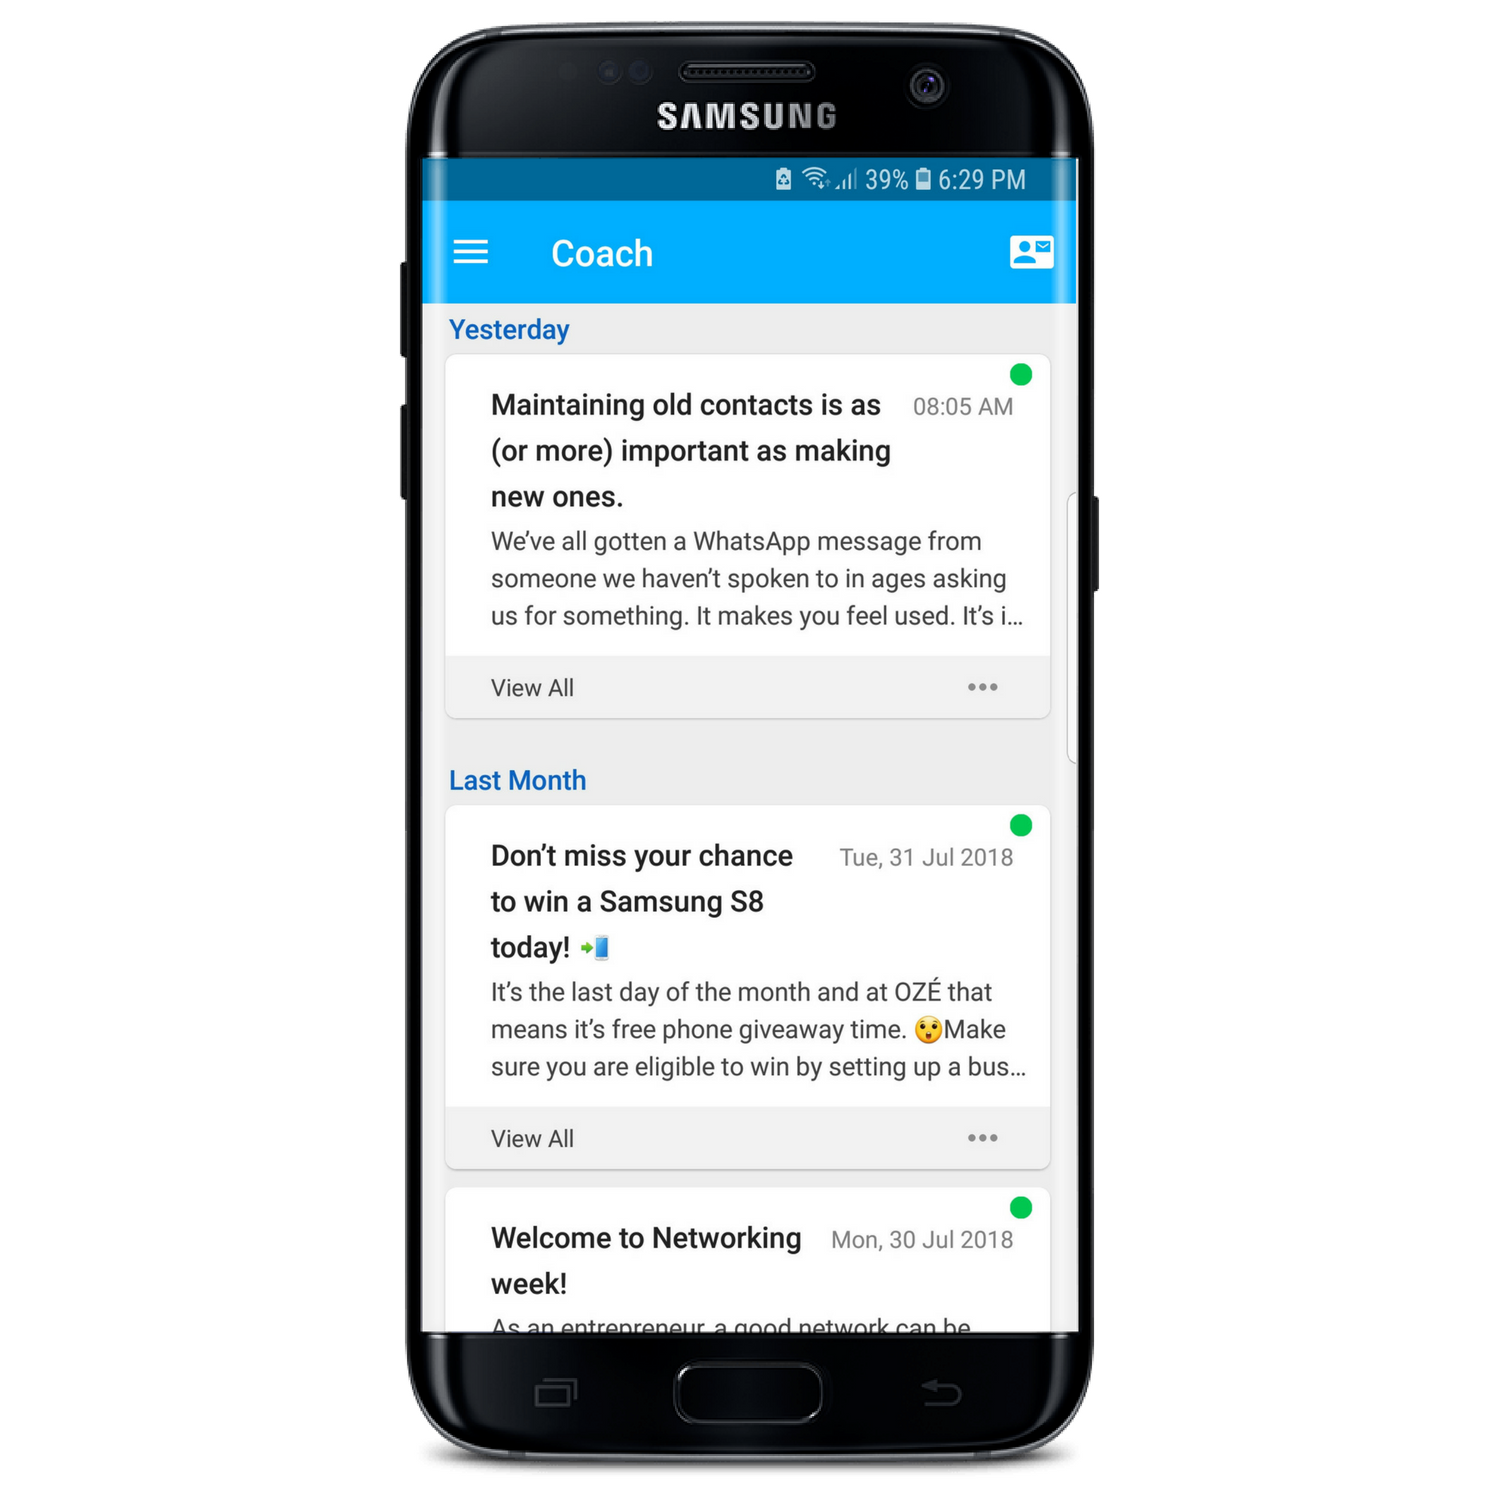
8. Coach is your Friend: As you work on your business, the Coach feature sends you business tips and notifications based on your recorded transactions.
9. Summary of Transactions: You can view all of your recorded transactions on one page. Transactions in green means that you made a sale, yellow means the transaction hasn’t been paid yet, and red means that you’ve occurred an expense. You can see all of the unpaid transactions in the “Waiting” tab. The Cash Balance at the bottom right shows how much cash you have at your business (compare it to what you had at the beginning!).
10. Your Business Data in a Dashboard: You can view all of your business data in different timeline graphs. Choose to view sales and expenses or cash balance across a day, a week, or a month.
Bonus: Monthly Report: Users who have over 40 transactions will receive a monthly report that summarizes the business’s financial health including profit for the month, sales and expenses by category, and additional information about your transactions.
Congratulations! You’re on your way to tracking and using your transactional data to make real, business decisions. Good luck!
